Saturday, 17 August 2013

Your own workflow 2

For this exercise, I made an unplanned detour to Whipsnade Zoo.  I want to work hard to perfect black and white animal portraits (see scrapbook entry) and this was an opportunity for me to practice.  I also needed three prints (or more) for the forthcoming Kingston Camera Club exhibition, so this gave me an objective.  As the trip was unplanned, and also quite late in the day, I only had two hours.  I wandered around the park, without an agenda and took it as it came.

I had most of my lenses with me, but only used my 55-300mm zoom.  My workflow started in the usual manner:
  1. Check battery, memory card, focus mode, matrix metering
  2. Decide ISO (200 - overcast lighting)
  3. Check exposure compensation set to 0 for trial shot
  4. Switch to aperture priority with a wide aperture
  5. Shoot, check blinkies, adjust exposure
What I found in shooting, was that although the light was pretty flat, overcast and quite frankly dark, my camera was overexposing to compensate, so I mostly shot half a stop underexposed.

In total I ended up with 188 photos taken; this is not too many by my standards!  I didn't edit as I went along - I am long-sighted so I don't use glasses to look through the viewfinder, but then I can't see the display very well.  I find it much easier to edit at home on the computer.

The first stage in processing, was to scan through the images to narrow down the choices that I would use based primarily on visual impact and at least one clear image:

Free-range deer - 1 photo - not used
Moose - 6 to choose from - definitely
Penguins - 3 to choose from - maybe
Wallabies - 13 to choose from - definitely
Mara - 20 to choose from - definitely
Outdoor Rhino - 1 photo - not used
Young Mara - 7 to choose from - maybe - quality not good although very very cute
Indoor Rhino - 37 pictures - maybe
Outdoor Hippo - 9 - definitely
Indoor young Hippo - 1- not used
Flamingos - 67 to choose from - definitely (at the time I thought they were blurred - but mostly they weren't!)
Elephant - 18 pictures - may be
People - 1 picture - bonus opportunity street photography - definitely used
1 picture of a sign - not used

The next stage was to work through each group, selecting the picture to be processed in ViewNX2.  In some cases, this involved attempting the processing to see what worked before making the choice, in others it was obvious.  One thing I had to bear in mind throughout, was not to crop too tightly, as these pictures would be printed and mounted.  I did not do any work in Elements for these - I did not need to do anything "arty" - I wanted the pictures to be close to the originals.

People

The first picture I edited, was the bonus street photography shot.  This required very little work, only cropping to square format (to eliminate an expanse of pavement), sharpening and a tiny bit of contrast.

Whipsnade Zoo

Moose

The clear winner was this shot, being the one with the most clarity and sufficient room round the edges for mounting:


To edit the photo, I straightened it slightly, cropped to square format (this one will be tight in the mount), converted to mono, increased contrast slightly and sharpened by 50%.

Moose
Penguin

With this image, I started processing (cropped to square and changed to mono), but quickly decided against using it - it was not a good portrait and enlarged it was slightly blurred.


Wallaby

The wallabies were a difficult choice; the light wasn't great at the time of shooting.  In the end, the picture with the strongest contrast against the background was a side portrait.  I liked the strong profile and thought this would work well in mono.


In processing, I cropped to square, brought the exposure back to zero (from half under), added contrast and sharpened by 50%.

Wallaby
Mara

As above, the best image was the a side profile, and again, fortunately, a slight catch light in the eye.


In processing, I cropped to square, brought the exposure back to zero (from half under), added contrast and sharpened by 50%.

Mara
Young Mara

The difficulty I had with this choice is that although the animal is very cute, none of them have great composition or a clutter free view or a view of their faces.  This is the best shot, but the ears are too close to the top and would be cut off in the mounting.  I decided to leave this out of the final choice.


Rhino

Difficult photography, the rhinos would not keep still!  There was a lot of commotion, mostly over who had the best clump of fresh hay; so there was a lot of rhino growling and horn bashing to contend with.  Also, being quite three-dimensional animals, it was hard to use a wide aperture without parts of it (i.e. the horn pointing forwards) being out of focus, and the lighting was quite dim, so I couldn't use a narrower aperture.  I didn't want to increase ISO because my camera is quite noisy after ISO 250.  What I really wanted was to capture an abstract of an eye, with lots of wrinkles and a bit of horn.  Unfortunately I didn't get what I wanted and so abandoned this as a choice.

Hippo

The hippos were a lot more sedate, and equally wrinkly, and with less protrusions to deal with!  And because they were wet, this hadn't some sheen to the image.  Sticking with the abstract eye idea above, I chose this image to process, as this had the sharpest eye (it's not perfect..)


In processing, I cropped to square, converted to mono, added contrast and 50% sharpness.  Unfortunately, I don't think I can use this image: the eye isn't clear enough :(  But good facebook profile pic as a thumbnail!!  Maybe....)

Hippo
Flamingos

67 in total...(images not birds)....because at the time I was convinced they were blurred, but in fact they were mostly ok.  It was very windy and flamingos also move a lot.  I was trying a slow shutter speed so as to minimise water ripples so it was quite hard to get a clear image.  Although the colours are stunning, what I was looking for was outline or shape, with their long legs and bendy necks.  This was a really hard choice as the colours were so amazing I couldn't ignore them.  On conversion to mono, the shape didn't stand out so well, which I wasn't expecting.  In the end I decided to use one flamingo for the black and white panel I was preparing and to use another as a separate entry in the nature section.  The first picture below is the panel picture, which I selected because of the clear outline of the neck:


In processing, I cropped to square, converted to mono, added quite a lot of contrast and sharpened by 50%.

Flamingo

And the picture that I am going to enter separately in the nature category is this one (sharpened 50% and a tiny amount of contrast):

Preening

Elephants

I didn't use any of my elephant pictures; although I had one of a cute baby, there were taken from too far away and there was not enough contrast with the background, which in this case was other elephants.

Final choice

So in total, I had four b&w portraits for my panel to add to the three I already had:
If it turns out that that is one too many, the Moose will have to be excluded :( as this is a bit cluttered with the background.

And I also had a street photography image for the Street Photography prize (to add to my other entries):
  •  Whipsnade Zoo
And a bonus entry for the nature category:
  •  Preening


Sunday, 21 July 2013

Your own workflow 1

The purpose of this exercise is to devise a workflow around a short assignment based on a portrait session limited in time producing a number of photographs to be edited in order to select one or two.

Advance planning

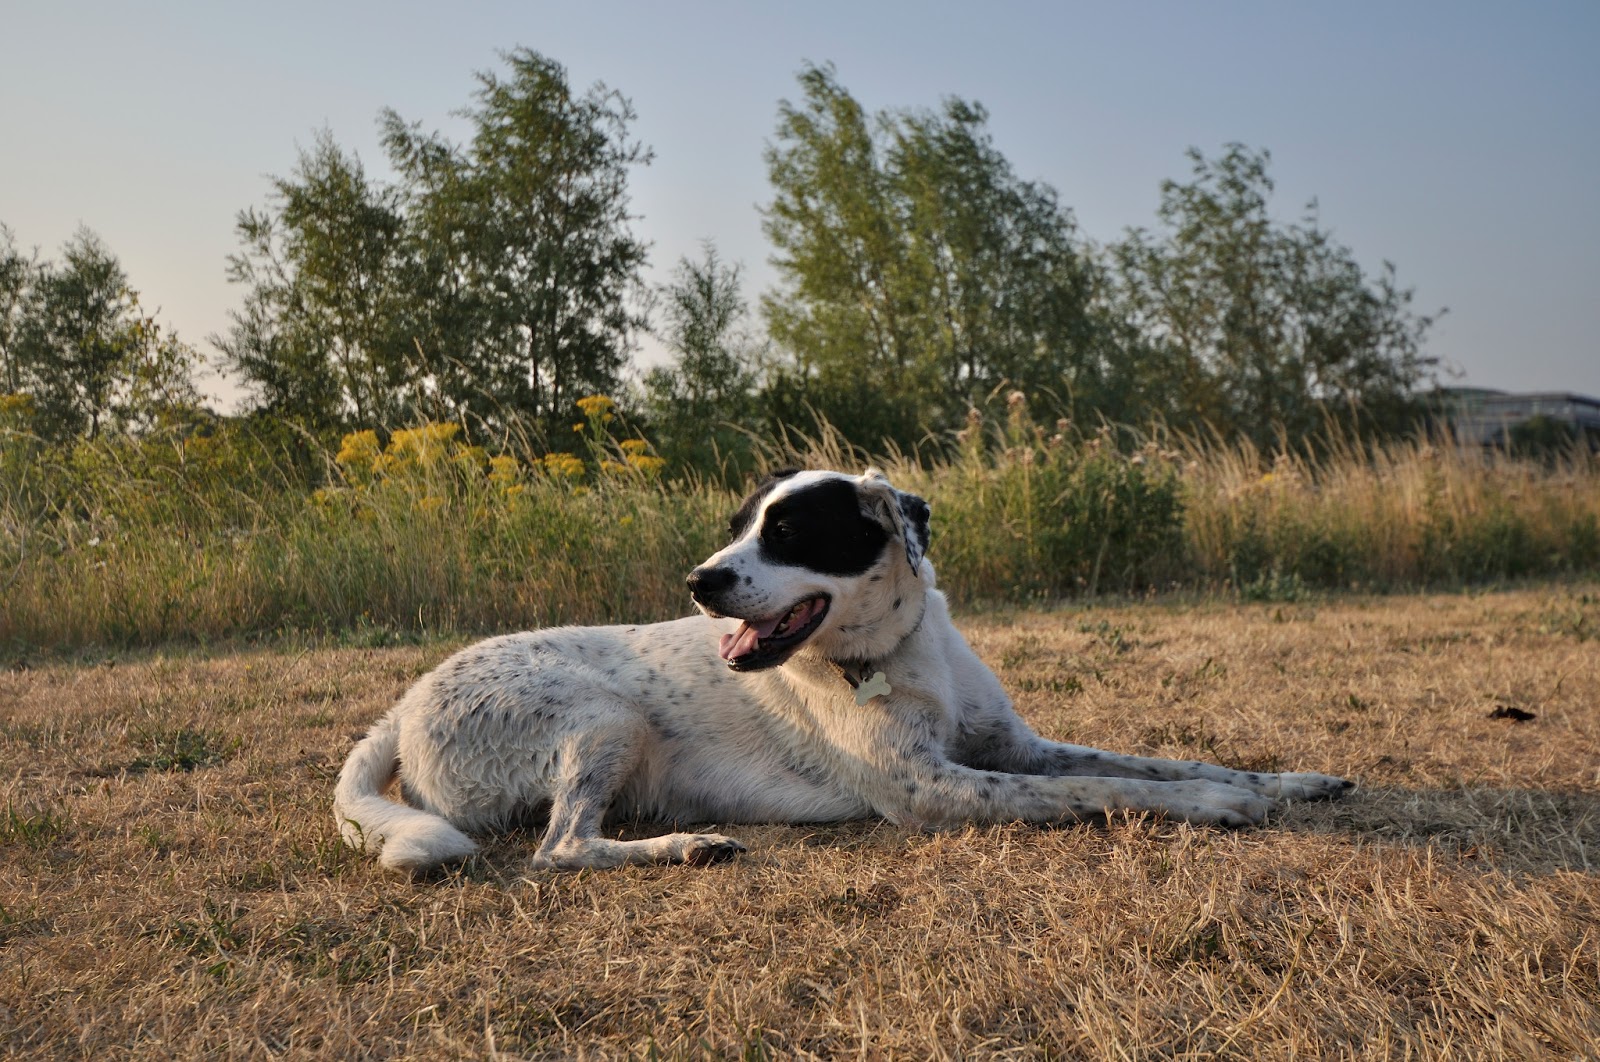
I decided on using my dog, Freddie, as my portrait subject and would take him to the park for an hour.  This would be challenging in trying to keep him still, making the most of an attractive setting and lighting conditions.  I chose to do the shoot later in the day, when hopefully the light would be less harsh.  The difficulty with Freddie, is that he is black and white, so quite often he needs to be underexpose to bring out the texture of his white fur, but that presents problems with the black patches around his eyes, where definition can be lost.  To resolve this I would need to try to get the light shinning on his face.

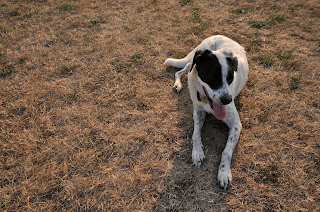
The objective is to take a better portrait than this one, i.e. before he gets muddy and with better definition on the eyes!

This is my workflow (camera permanently set to auto White Balance):
  1. Check camera battery and memory card
  2. Select lens and any filters required
  3. Set ISO and metering (usually Matrix)
  4. Arrive at location
  5. Decide priority - shutter/aperture/manual
  6. Check AF-Area Mode
  7. Check Shutter Release
  8. Check exposure compensation
  9. Test shots
  10. Check blinkies and exposure
  11. Correct exposure and check again
  12. Continue shooting, checking deleting obvious pictures that aren't going to work, change perspectives, angles and view points
  13. Back home
  14. Review on pc
  15. Shortlist
  16. Final selection
  17. Process raw images to be used in ViewNX2 including: straighten, crop, adjust exposure/contrast/brightness/shadow protection/colour saturation, adjust white balance, change picture control, sharpen
  18. Resave as raw images
  19. Process images to be used in Elements including: remove blemishes, any other additional effects/finishes e.g. desaturate colours, Lomo, saturated slide film effet, add vignette etc
  20. Same final image as highest quality JPEG or resize if required and rename file
  21. Upload to internet if required
The actual process proceeded as follows:
  1. Check camera battery and memory card - battery ok and space on memory card
  2. Select lens and any filters required - decided on wide-angled lens to maximise perspective
  3. Set ISO and metering (usually Matrix) - camera already set to Matrix - ISO set at 100 (still very sunny)
  4. Arrive at location - Bedfont Lakes Park in Hounslow
  5. Decide priority - shutter/aperture/manual - aperture priority to blur background making subject more prominent
  6. Check AF-Area Mode - set to single point so I could focus on the eye (although dynamic would also have worked as he kept moving....)
  7. Check Shutter Release - set to single (but again continuous would have also worked with a moving subject)
  8. Check exposure compensation - this was set to -1.0 from a photo from earlier in the day - so I reset this to 0
  9. Test shots
 - first picture - just to check exposure and all ok with workflow thus far:


then test shots with dog:


10.  Check blinkies and exposure - these were fine - no blinkies, but I could see enough in the display to determine if the dog's eye was visible, so I would have to shoot from different perspectives and see how it looked on the laptop
11.  Correct exposure and check again - not required on this occasion
12.  Continue shooting, checking deleting obvious pictures that aren't going to work, change perspectives, angles and view points - this went well although it was hard to keep the dog's attention when what he really wanted to do was run aroundI tried a number of different angles, view points and the dog tried a number of different positions
13.  Back home
13.5 - save RAW files to PC
14.  Review on pc

ok
ok
ok
ok - clearer view of eyes
ok
ok
ok - eyes clearer
ok
ok

ok - dog looks alert
ok - like the diagonal of front paw to end of shadow

dog now bored
dog now showing off....
more showing off...
time to move on

different position trying to catch rim lighting but eye not visible
as above
as above
dog has given up and resorted to usual behaviour
nice rim lighting but shame about the ducks


15.  Shortlist - all those marked "ok" above  
16.  Final selection - I think this is the best image from a composition perspective


17.  Process raw images to be used in ViewNX2 including: straighten, crop, adjust exposure/contrast/brightness/shadow protection/colour saturation, adjust white balance, change picture control, sharpen - I adjusted the exposure to +1.0 to try to reveal more of the eye, converted to mono, and sharpened
18.  Resave as raw images - I resaved as a JPEG as I couldn't make any changes in RAW in elements (need to work on the best way of doing this!)
19.  Process images to be used in Elements including: remove blemishes, any other additional effects/finishes e.g. desaturate colours, Lomo, saturated slide film effet, add vignette etc - I added a tiny vignette to draw the eye into the subject of the photo 
20.  Same final image as highest quality JPEG or resize if required and rename file

Freddie at the park
21.  Upload to internet if required


There was one other step that I forgot to include above - that is to save all the RAW files to my laptop - this would happen between 13 and 14.

The workflow worked pretty much as I planned - there was only one step that I had forgotten to include in the planning (saving all RAW files to PC).  In practice I don't edit much on the go, because I am long-sighted and can't see my display very well.

The photograph I took doesn't show his eyes very well in the size above, but full screen on pc it does, so I am happy with this choice - I really like the perspective of looking up into the dog with the wide-angle - exaggerating the length of his limbs.  The conversion to black and white enhances the texture of the dog and neutralises the background adding texture in the grass.  One aspect that could have been improved is the proximity of the tree on the right just by the dog's shoulder.  I should have seen that in shooting, but I could also edit it out!