The purpose of this exercise is to devise a workflow around a short assignment based on a portrait session limited in time producing a number of photographs to be edited in order to select one or two.
Advance planning
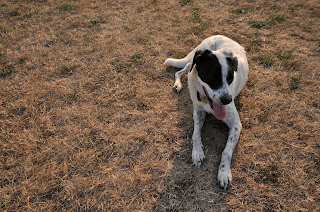
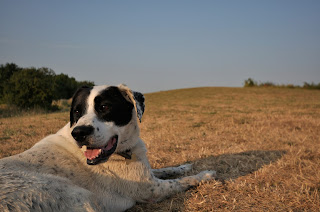
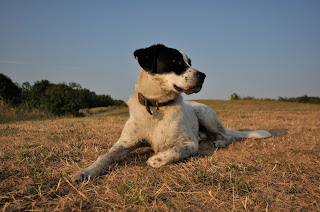
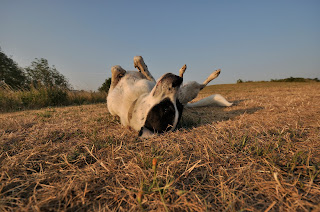
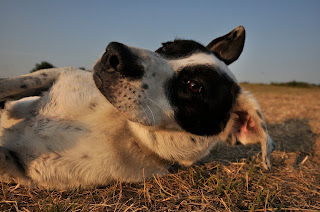
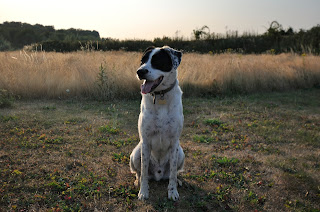
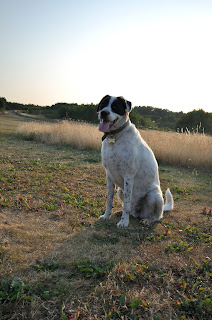
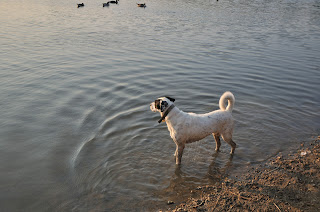
I decided on using my dog, Freddie, as my portrait subject and would take him to the park for an hour. This would be challenging in trying to keep him still, making the most of an attractive setting and lighting conditions. I chose to do the shoot later in the day, when hopefully the light would be less harsh. The difficulty with Freddie, is that he is black and white, so quite often he needs to be underexpose to bring out the texture of his white fur, but that presents problems with the black patches around his eyes, where definition can be lost. To resolve this I would need to try to get the light shinning on his face.
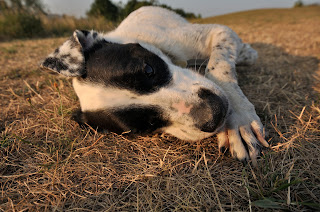
The objective is to take a better portrait than this one, i.e. before he gets muddy and with better definition on the eyes!
This is my workflow (camera permanently set to auto White Balance):
- Check camera battery and memory card
- Select lens and any filters required
- Set ISO and metering (usually Matrix)
- Arrive at location
- Decide priority - shutter/aperture/manual
- Check AF-Area Mode
- Check Shutter Release
- Check exposure compensation
- Test shots
- Check blinkies and exposure
- Correct exposure and check again
- Continue shooting, checking deleting obvious pictures that aren't going to work, change perspectives, angles and view points
- Back home
- Review on pc
- Shortlist
- Final selection
- Process raw images to be used in ViewNX2 including: straighten, crop, adjust exposure/contrast/brightness/shadow protection/colour saturation, adjust white balance, change picture control, sharpen
- Resave as raw images
- Process images to be used in Elements including: remove blemishes, any other additional effects/finishes e.g. desaturate colours, Lomo, saturated slide film effet, add vignette etc
- Same final image as highest quality JPEG or resize if required and rename file
- Upload to internet if required
The actual process proceeded as follows:
- Check camera battery and memory card - battery ok and space on memory card
- Select lens and any filters required - decided on wide-angled lens to maximise perspective
- Set ISO and metering (usually Matrix) - camera already set to Matrix - ISO set at 100 (still very sunny)
- Arrive at location - Bedfont Lakes Park in Hounslow
- Decide priority - shutter/aperture/manual - aperture priority to blur background making subject more prominent
- Check AF-Area Mode - set to single point so I could focus on the eye (although dynamic would also have worked as he kept moving....)
- Check Shutter Release - set to single (but again continuous would have also worked with a moving subject)
- Check exposure compensation - this was set to -1.0 from a photo from earlier in the day - so I reset this to 0
- Test shots
- first picture - just to check exposure and all ok with workflow thus far:
then test shots with dog:
10. Check blinkies and exposure -
these were fine - no blinkies, but I could see enough in the display to determine if the dog's eye was visible, so I would have to shoot from different perspectives and see how it looked on the laptop
11. Correct exposure and check again
- not required on this occasion
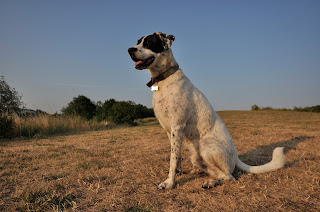
12. Continue shooting, checking deleting obvious pictures that aren't going to work, change perspectives, angles and view points -
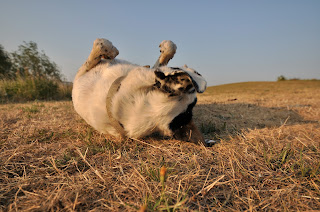
this went well although it was hard to keep the dog's attention when what he really wanted to do was run around.
I tried a number of different angles, view points and the dog tried a number of different positions
13. Back home
13.5 - save RAW files to PC
14. Review on pc
 |
| ok |
 |
| ok |
 |
| ok |
 |
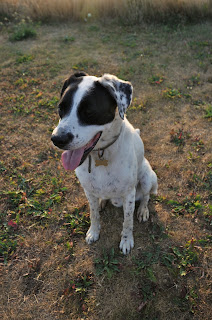
| ok - clearer view of eyes |
 |
| ok - clearer view of eyes |
 |
| ok |
 |
| ok |
 |
| ok - eyes clearer |
 |
| ok |
 |
| ok |
 |
| ok - dog looks alert |
 |
| ok - like the diagonal of front paw to end of shadow |
 |
| dog now bored |
 |
| dog now showing off.... |
 |
| more showing off... |
 |
| time to move on |
 |
| different position trying to catch rim lighting but eye not visible |
 |
| as above |
 |
| as above |
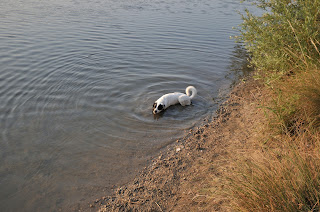 |
| dog has given up and resorted to usual behaviour |
 |
| nice rim lighting but shame about the ducks |
|
|
|
|
|
|
|
|
|
|
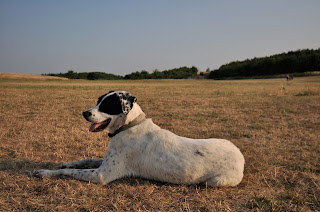
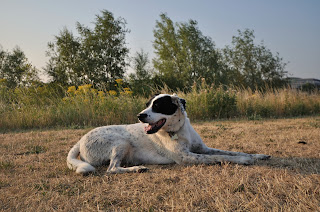
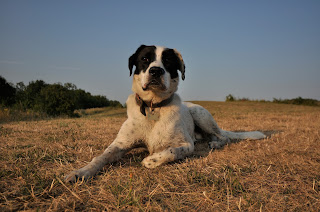
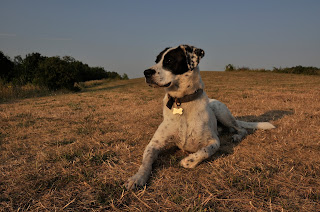
15. Shortlist - all those marked "ok" above
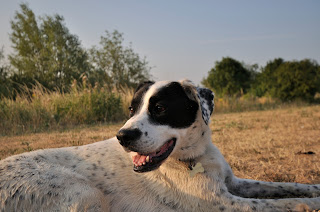
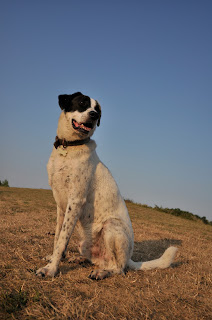
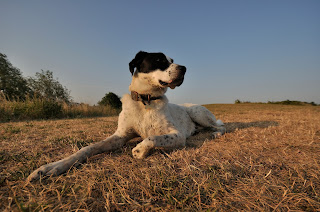
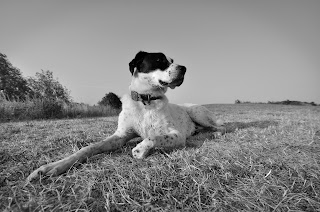
16. Final selection - I think this is the best image from a composition perspective
17. Process raw images to be used in ViewNX2 including: straighten,
crop, adjust exposure/contrast/brightness/shadow protection/colour
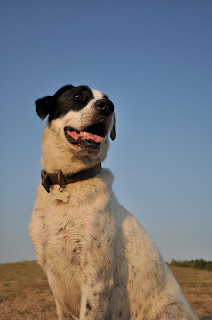
saturation, adjust white balance, change picture control, sharpen - I adjusted the exposure to +1.0 to try to reveal more of the eye, converted to mono, and sharpened
18. Resave as raw images - I resaved as a JPEG as I couldn't make any changes in RAW in elements (need to work on the best way of doing this!)
19. Process images to be used in Elements including: remove blemishes,
any other additional effects/finishes e.g. desaturate colours, Lomo,
saturated slide film effet, add vignette etc - I added a tiny vignette to draw the eye into the subject of the photo
20. Same final image as highest quality JPEG or resize if required and rename file
 |
| Freddie at the park |
21. Upload to internet if required
There was one other step that I forgot to include above - that is to save all the RAW files to my laptop - this would happen between 13 and 14.
The workflow worked pretty much as I planned - there was only one step that I had forgotten to include in the planning (saving all RAW files to PC). In practice I don't edit much on the go, because I am long-sighted and can't see my display very well.
The photograph I took doesn't show his eyes very well in the size above, but full screen on pc it does, so I am happy with this choice - I really like the perspective of looking up into the dog with the wide-angle - exaggerating the length of his limbs. The conversion to black and white enhances the texture of the dog and neutralises the background adding texture in the grass. One aspect that could have been improved is the proximity of the tree on the right just by the dog's shoulder. I should have seen that in shooting, but I could also edit it out!


